Manage in the Web Console
The Inductiva Web Console provides a visual interface for managing projects, complementing the Python API and CLI commands.
Create a Project
- Click the "Create Project" button in the projects section.
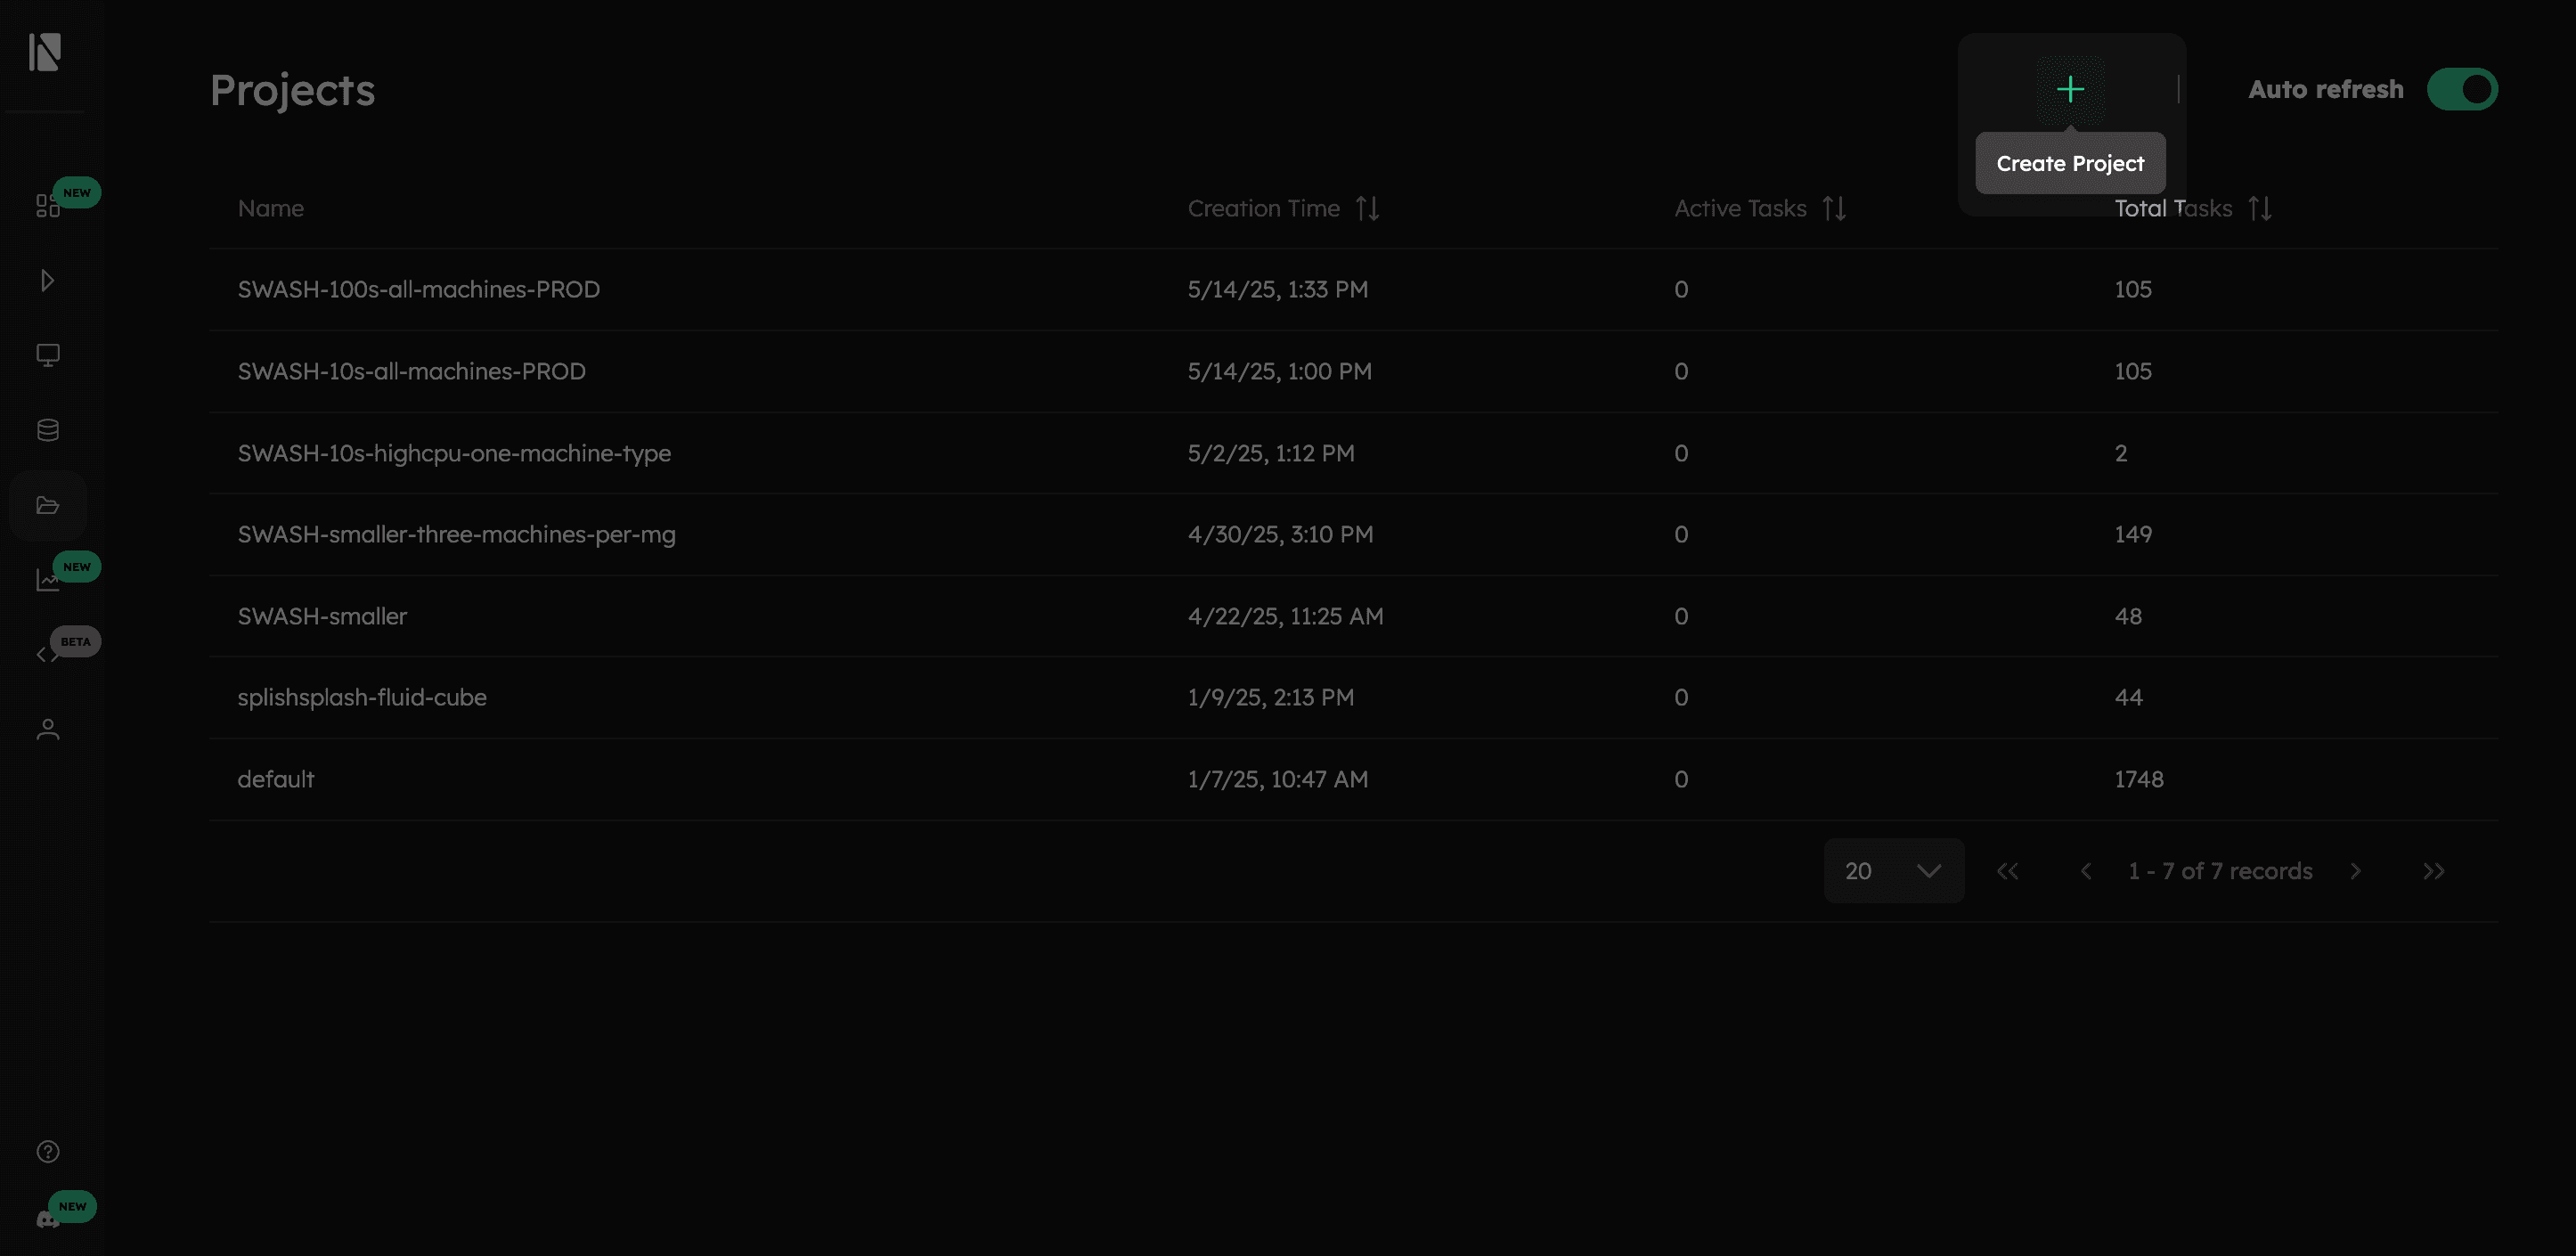
- In the dialog box that appears, enter a name for your project.
- Click "Create" to finalize. Your new project is now ready.

Project Visualization
Selecting a project takes you to its dedicated dashboard that gives real-time, at-a-glance overview of the simulations progress and resource usage.
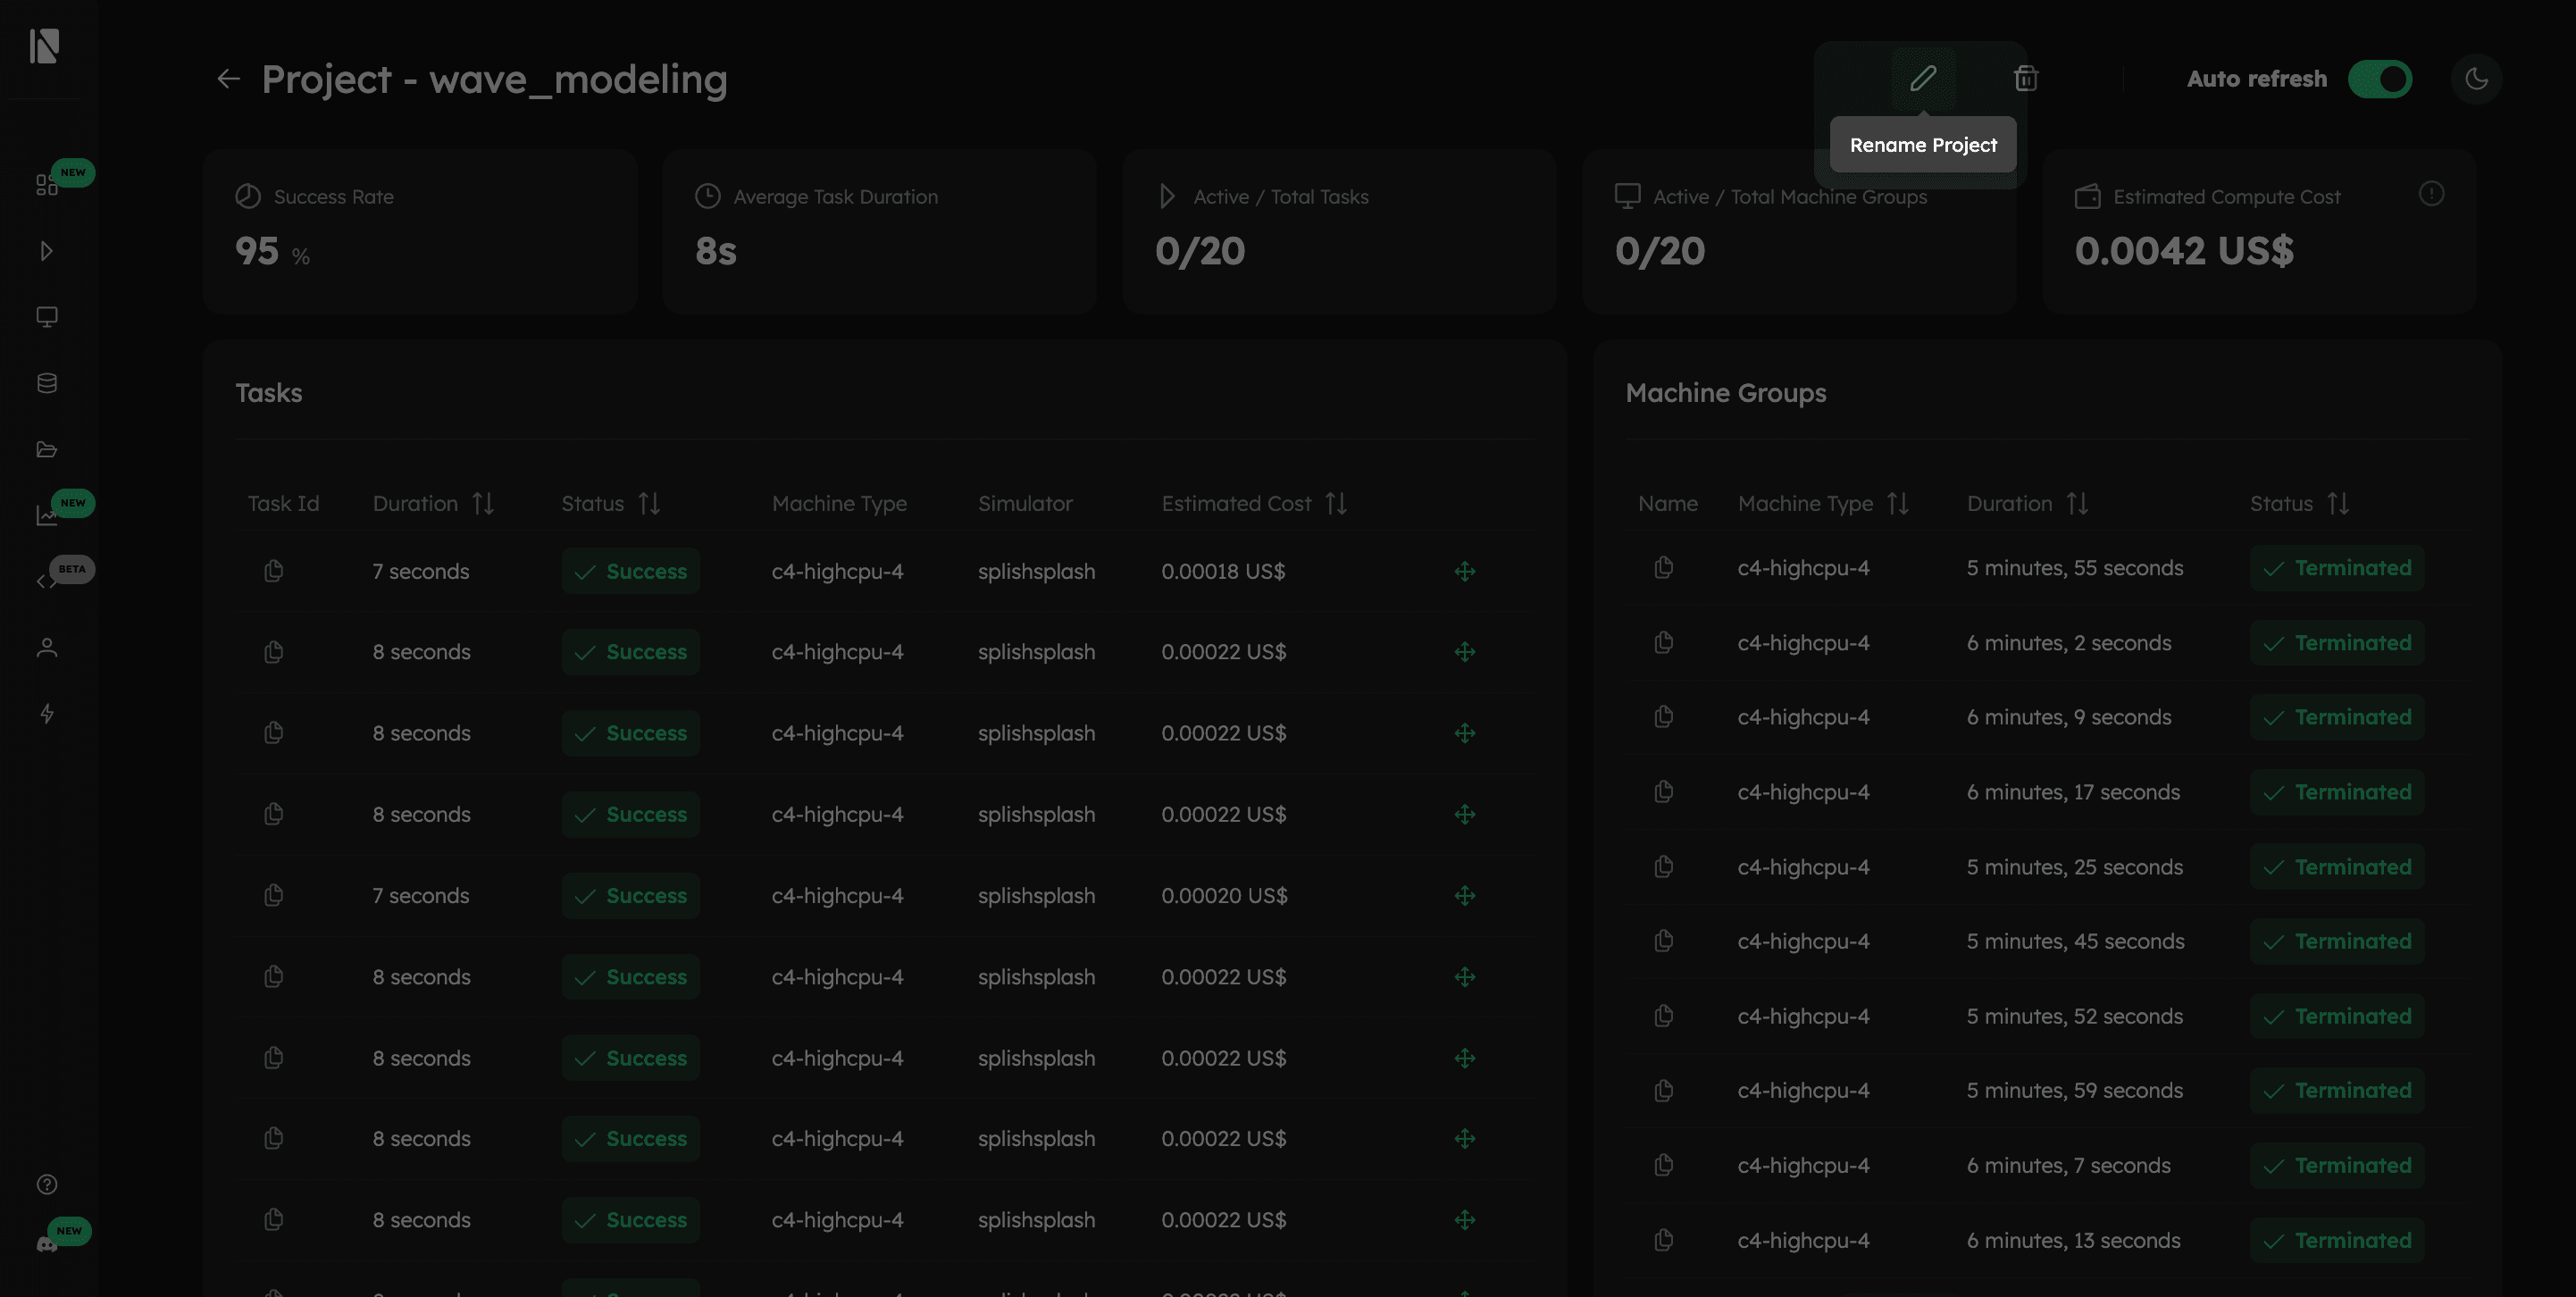
Project Dashboard Overview
The dashboard is split into two main areas: summary cards at the top for quick insights and detailed tables below.
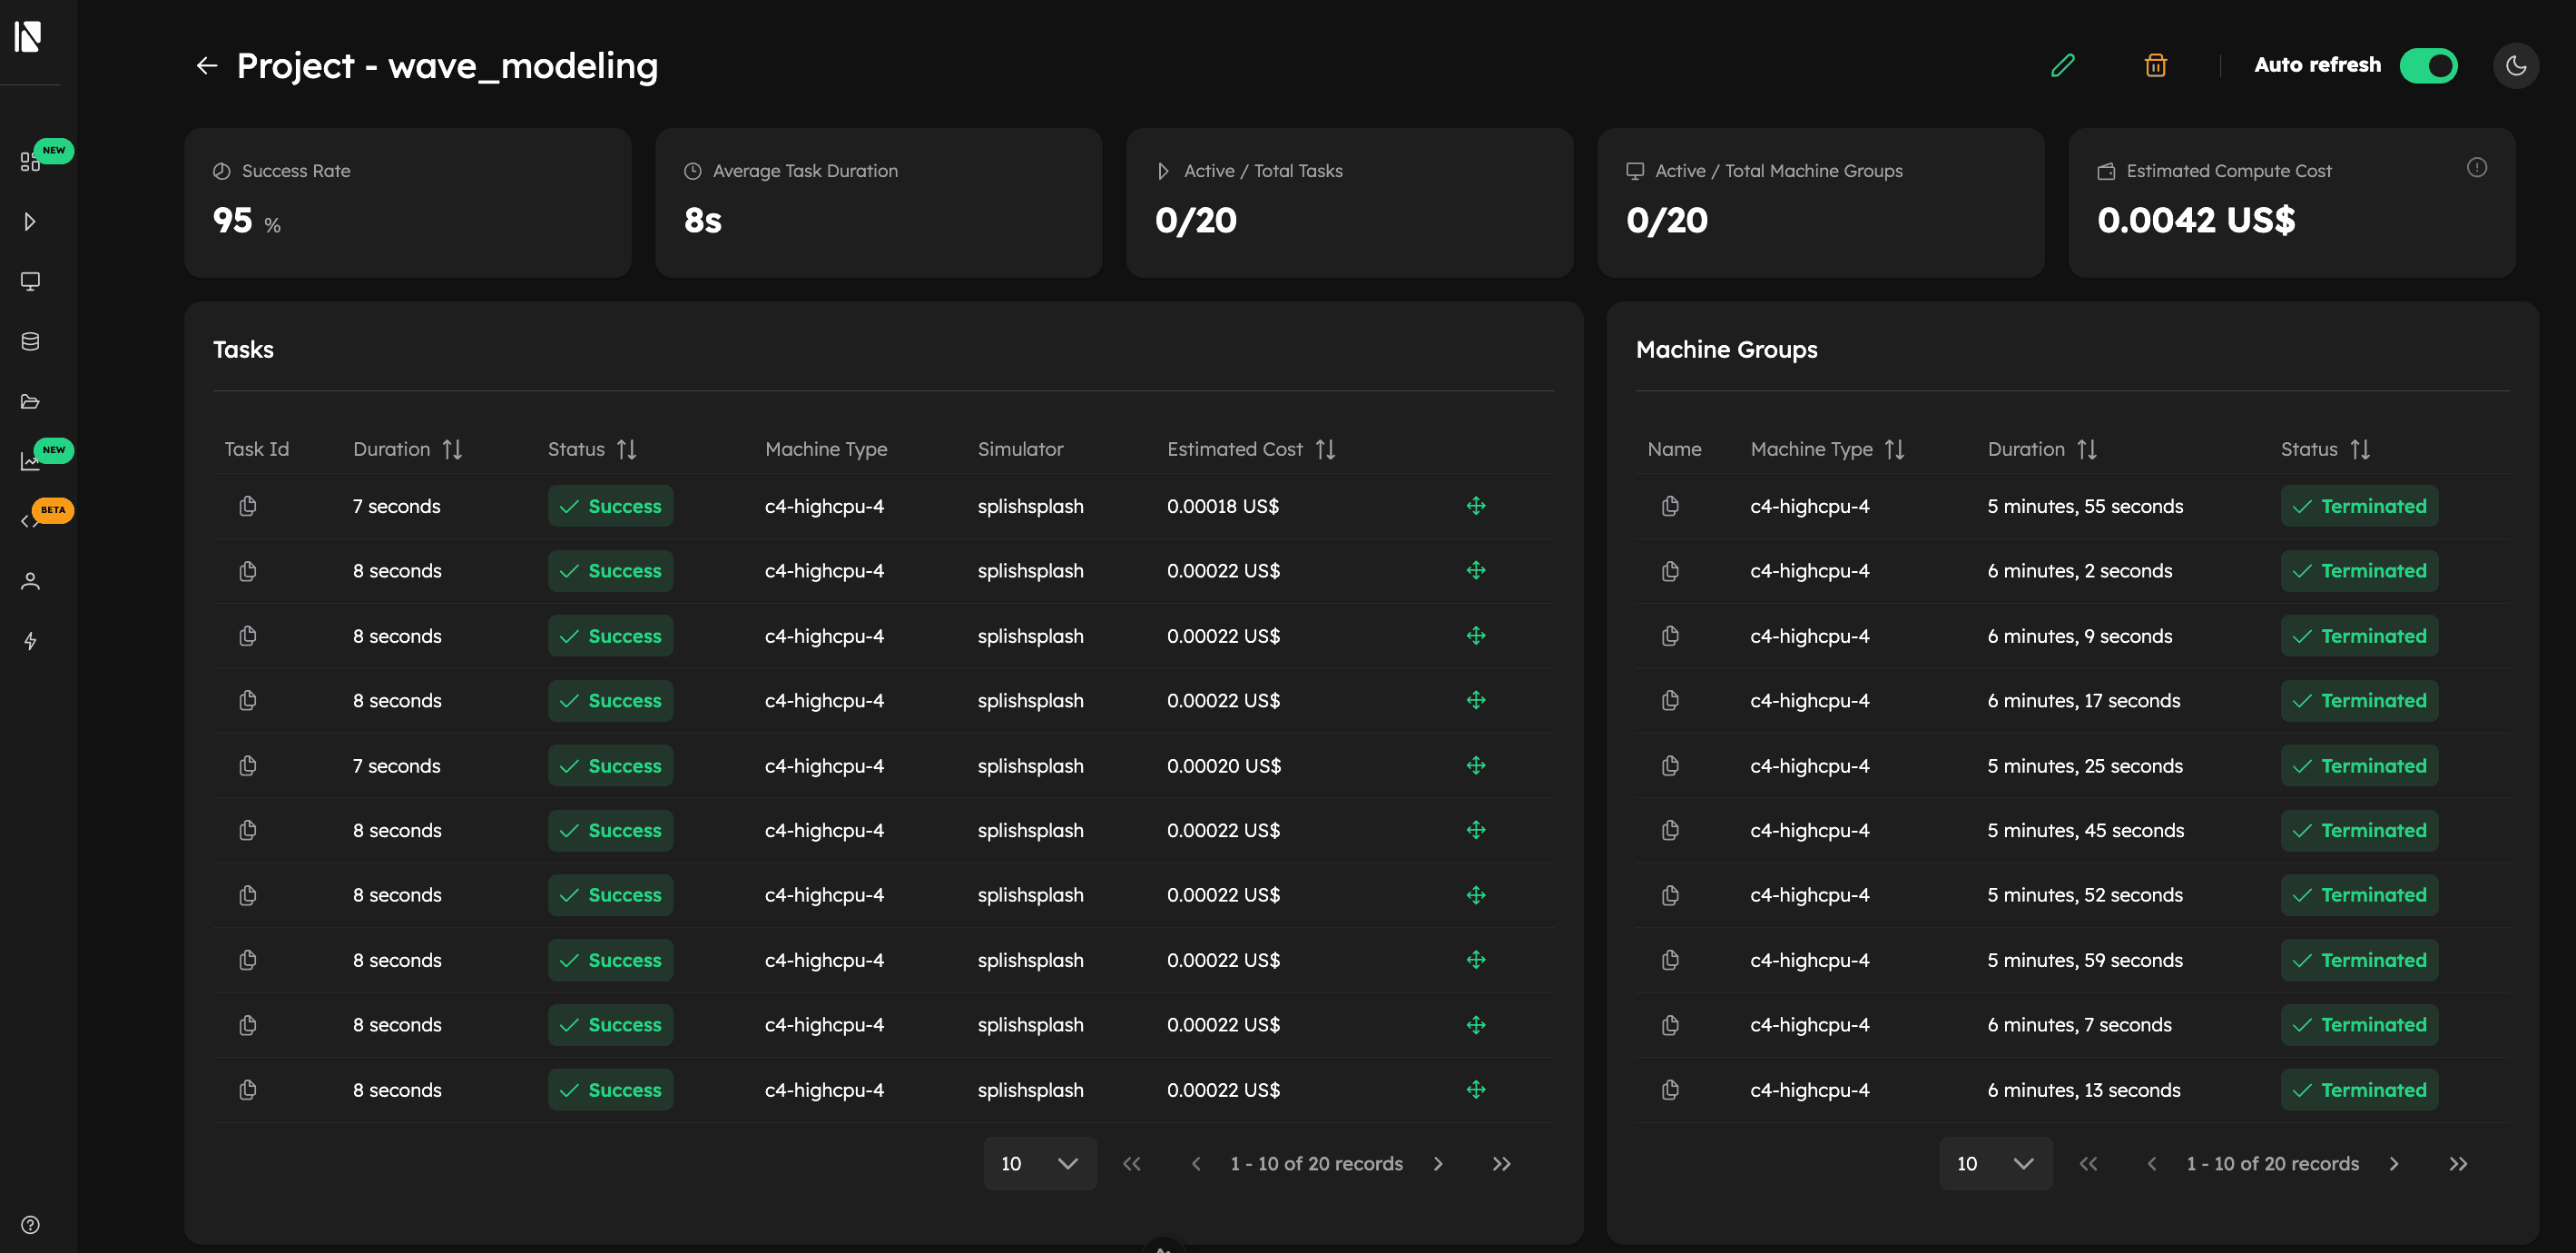
Summary Cards
These cards highlight the most important metrics of your project:
- Success Rate: The percentage of tasks that completed successfully.
- Average Task Duration: The average runtime for a single task.
- Active / Total Tasks: The number of currently running tasks versus the total number of tasks submitted.
- Active / Total Machine Groups: The number of machine groups currently active versus the total number launched for the project.
- Estimated Compute Cost: Estimated computational cost in US dollars ($) for all tasks in the project.
Tables
For more granular information, the dashboard includes two tables:
- Tasks Table: Detailed breakdown of every task. You can check each task's
ID, status (e.g.,Success,Failed), duration, the simulator used, and its individual estimated cost. - Machine Groups Table: Lists all machine groups launched for the project. It shows the machine type used (e.g.,
c4-highcpu-4), the total duration it was active, and its status (e.g.,Terminated,Running).
Accessing Task Details
To dive deeper into a specific simulation, click on its row in the Tasks table. This will take you to the Task Detail page:
Note: You can access a Machine Group details using the same workflow!
Project Management
The console also provides simple tools for keeping your projects organized.
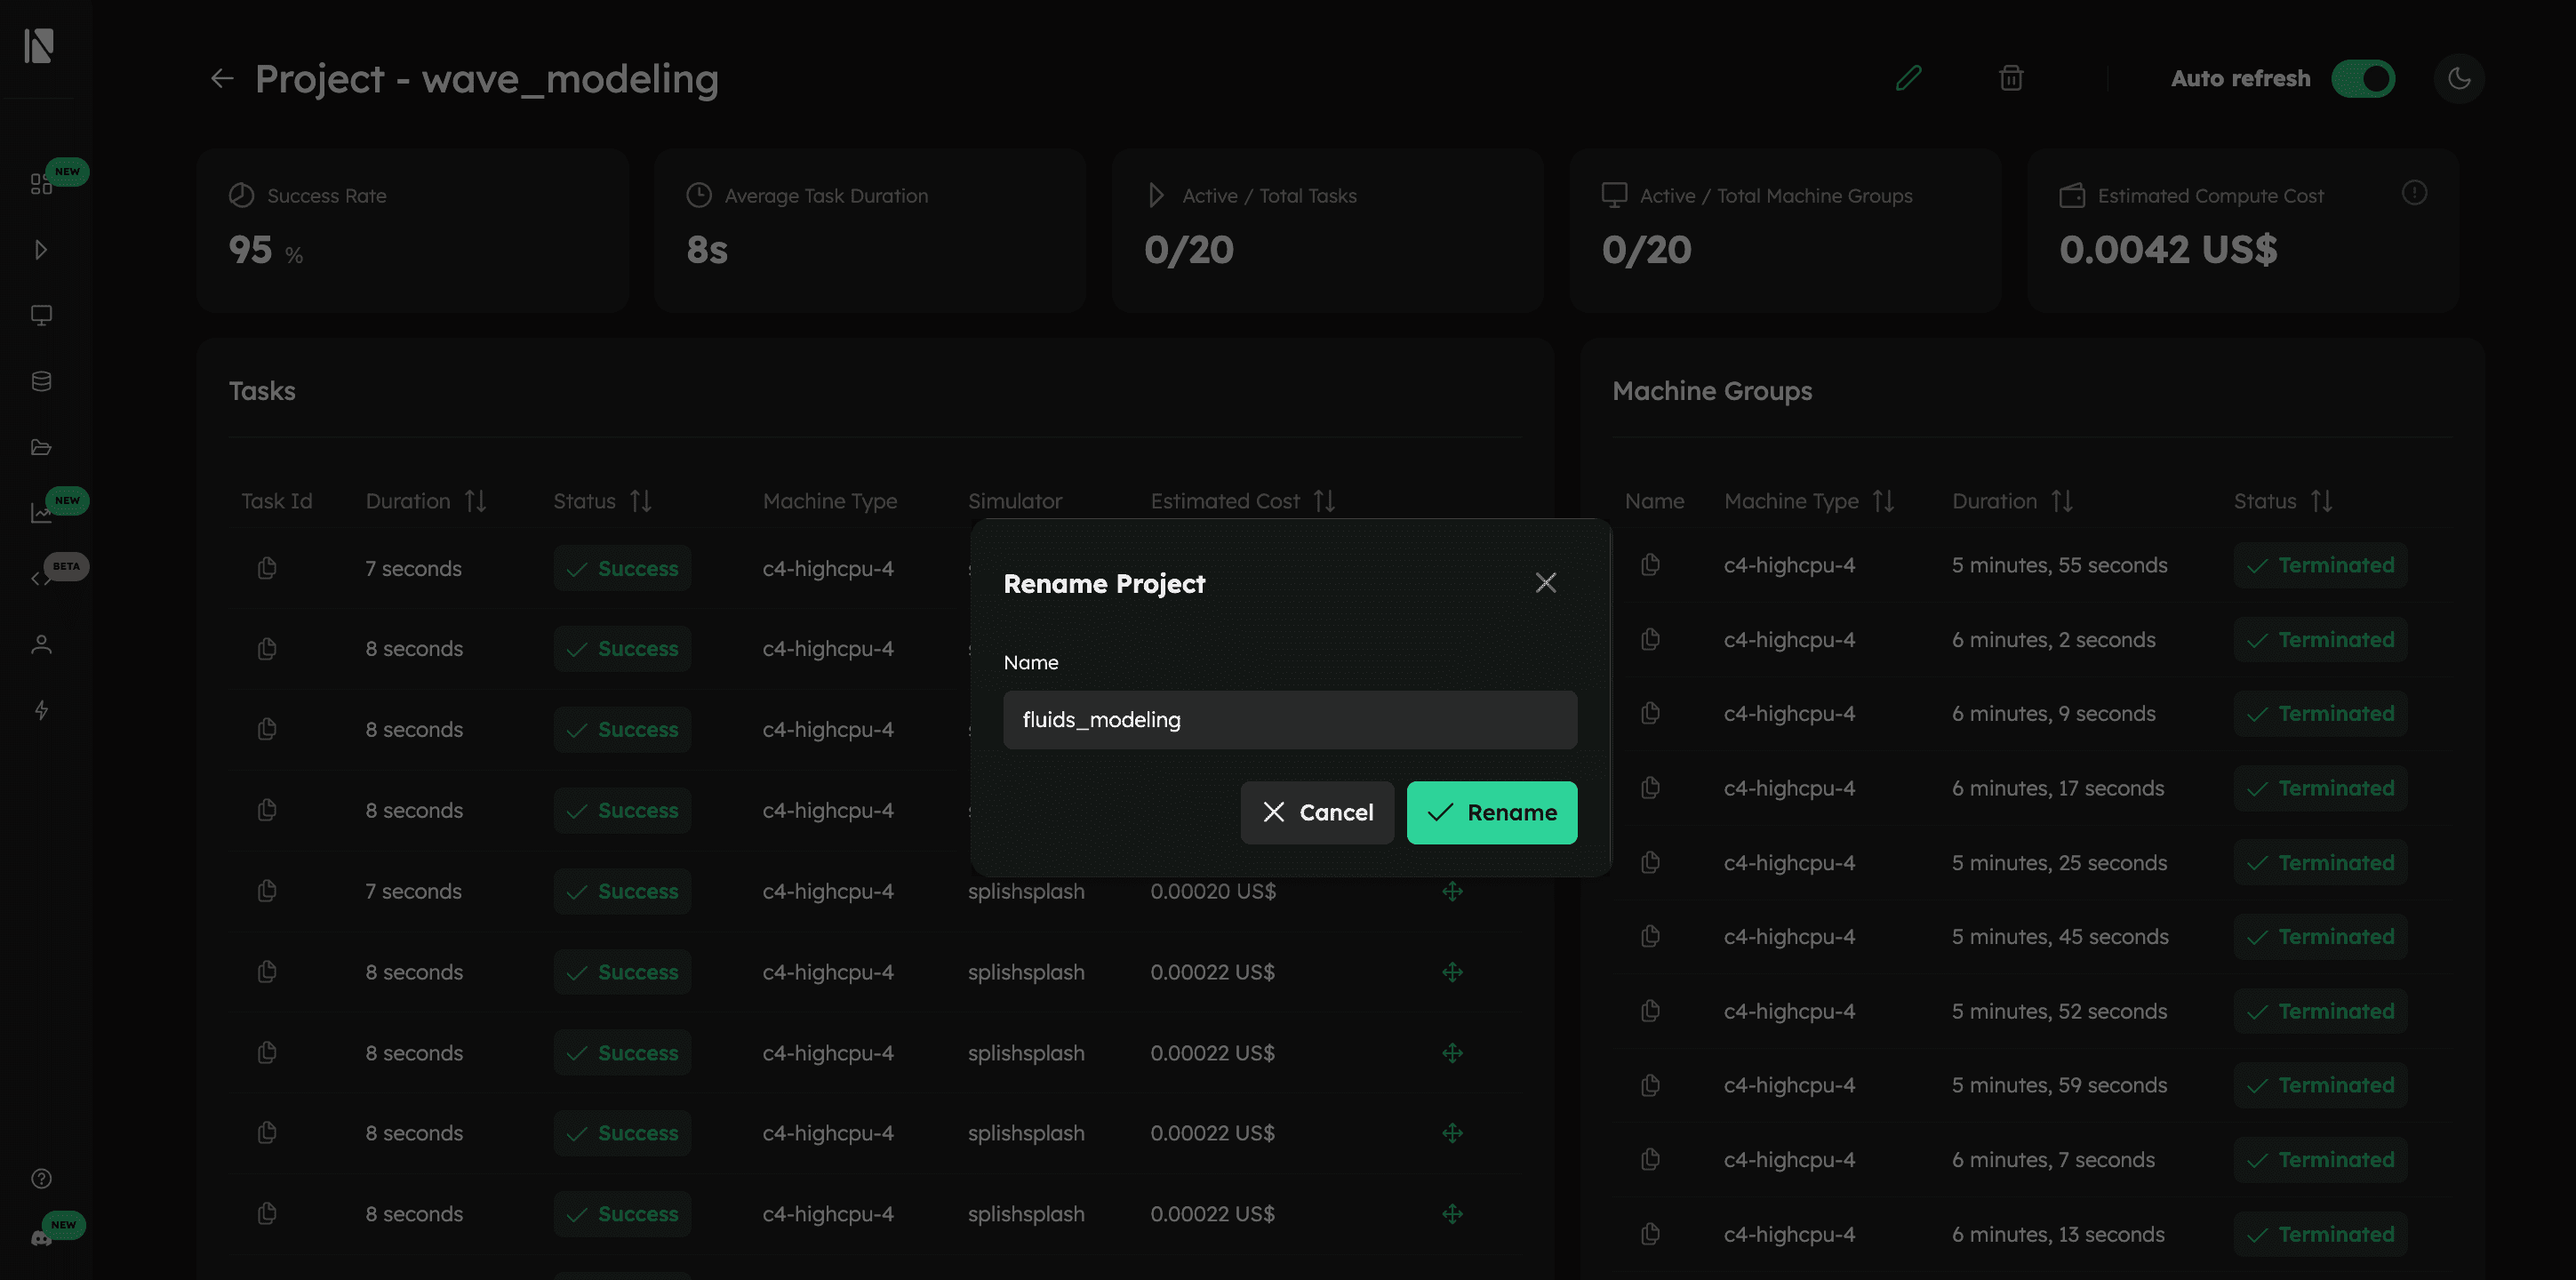
Rename a Project
- Click the "Rename Project" button next to the project title
- Enter the new name in the dialog.
- Click "Rename" to apply the changes
Move a Task
To better organize your work, you can move tasks from one project to another.
- In the Tasks table, check the box next to one or more tasks you wish to move.
- An action bar will appear at the top of the table. Click "Move".
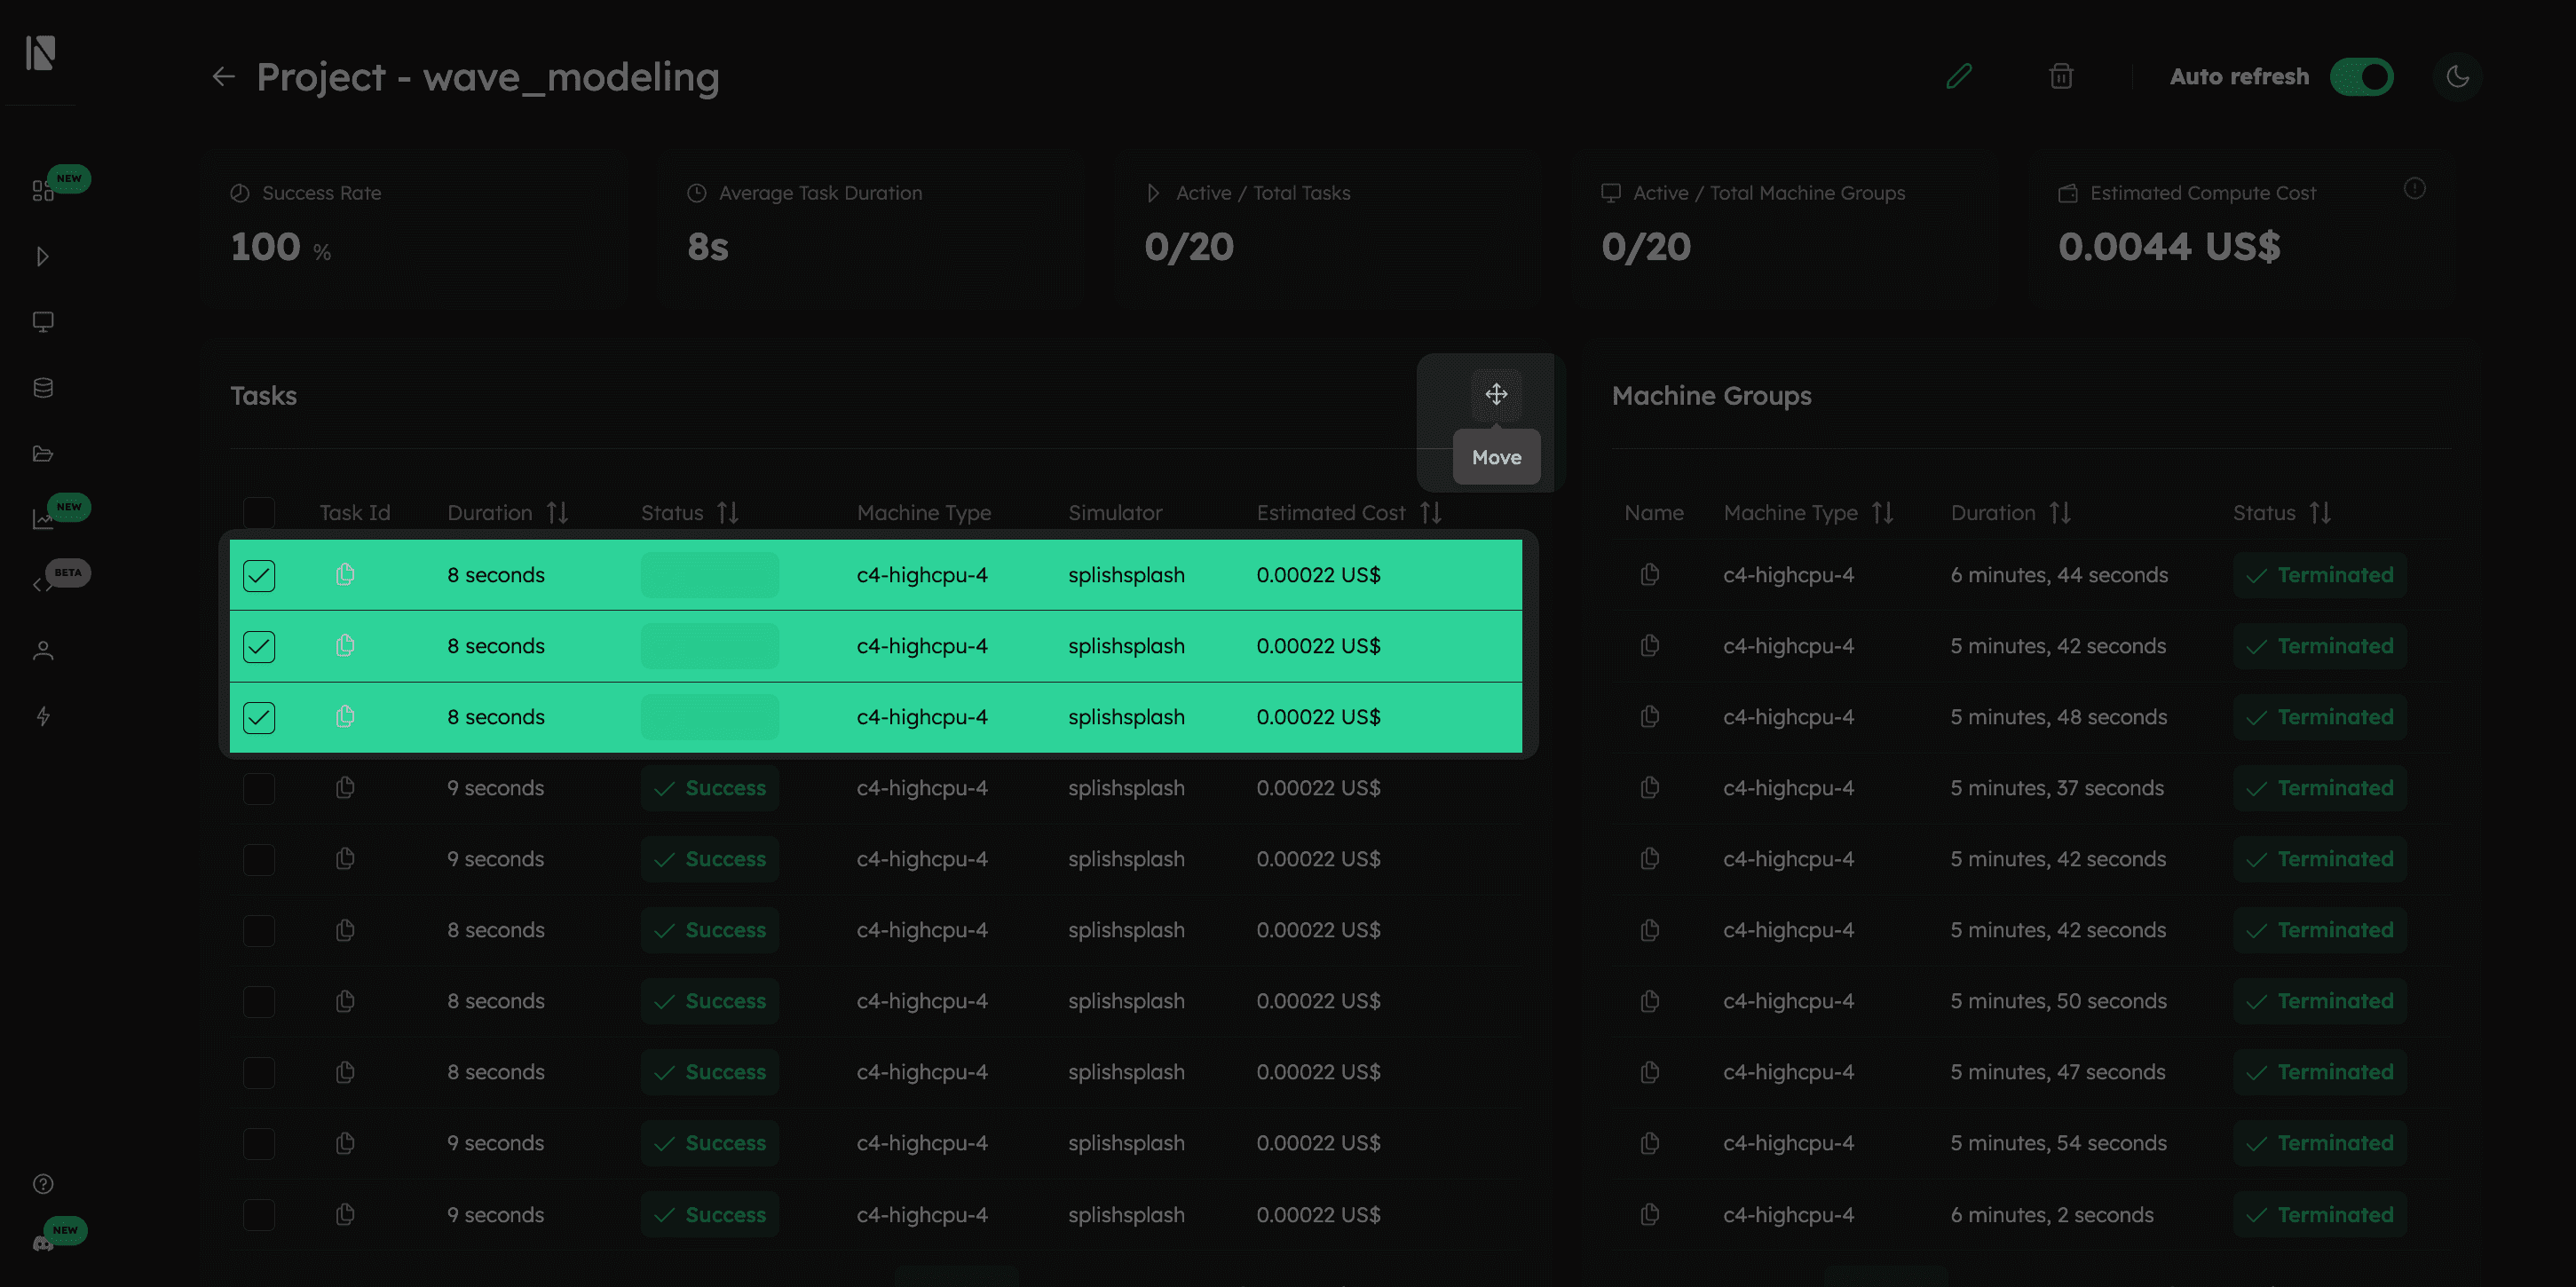
- Select the destination project from the dropdown menu and confirm the action.
Terminate a Task
You can stop a task before it finishes. You can only terminate tasks that are in a in queue or in progress state.
- In the Tasks table, select the checkbox next to the active task you want to terminate.
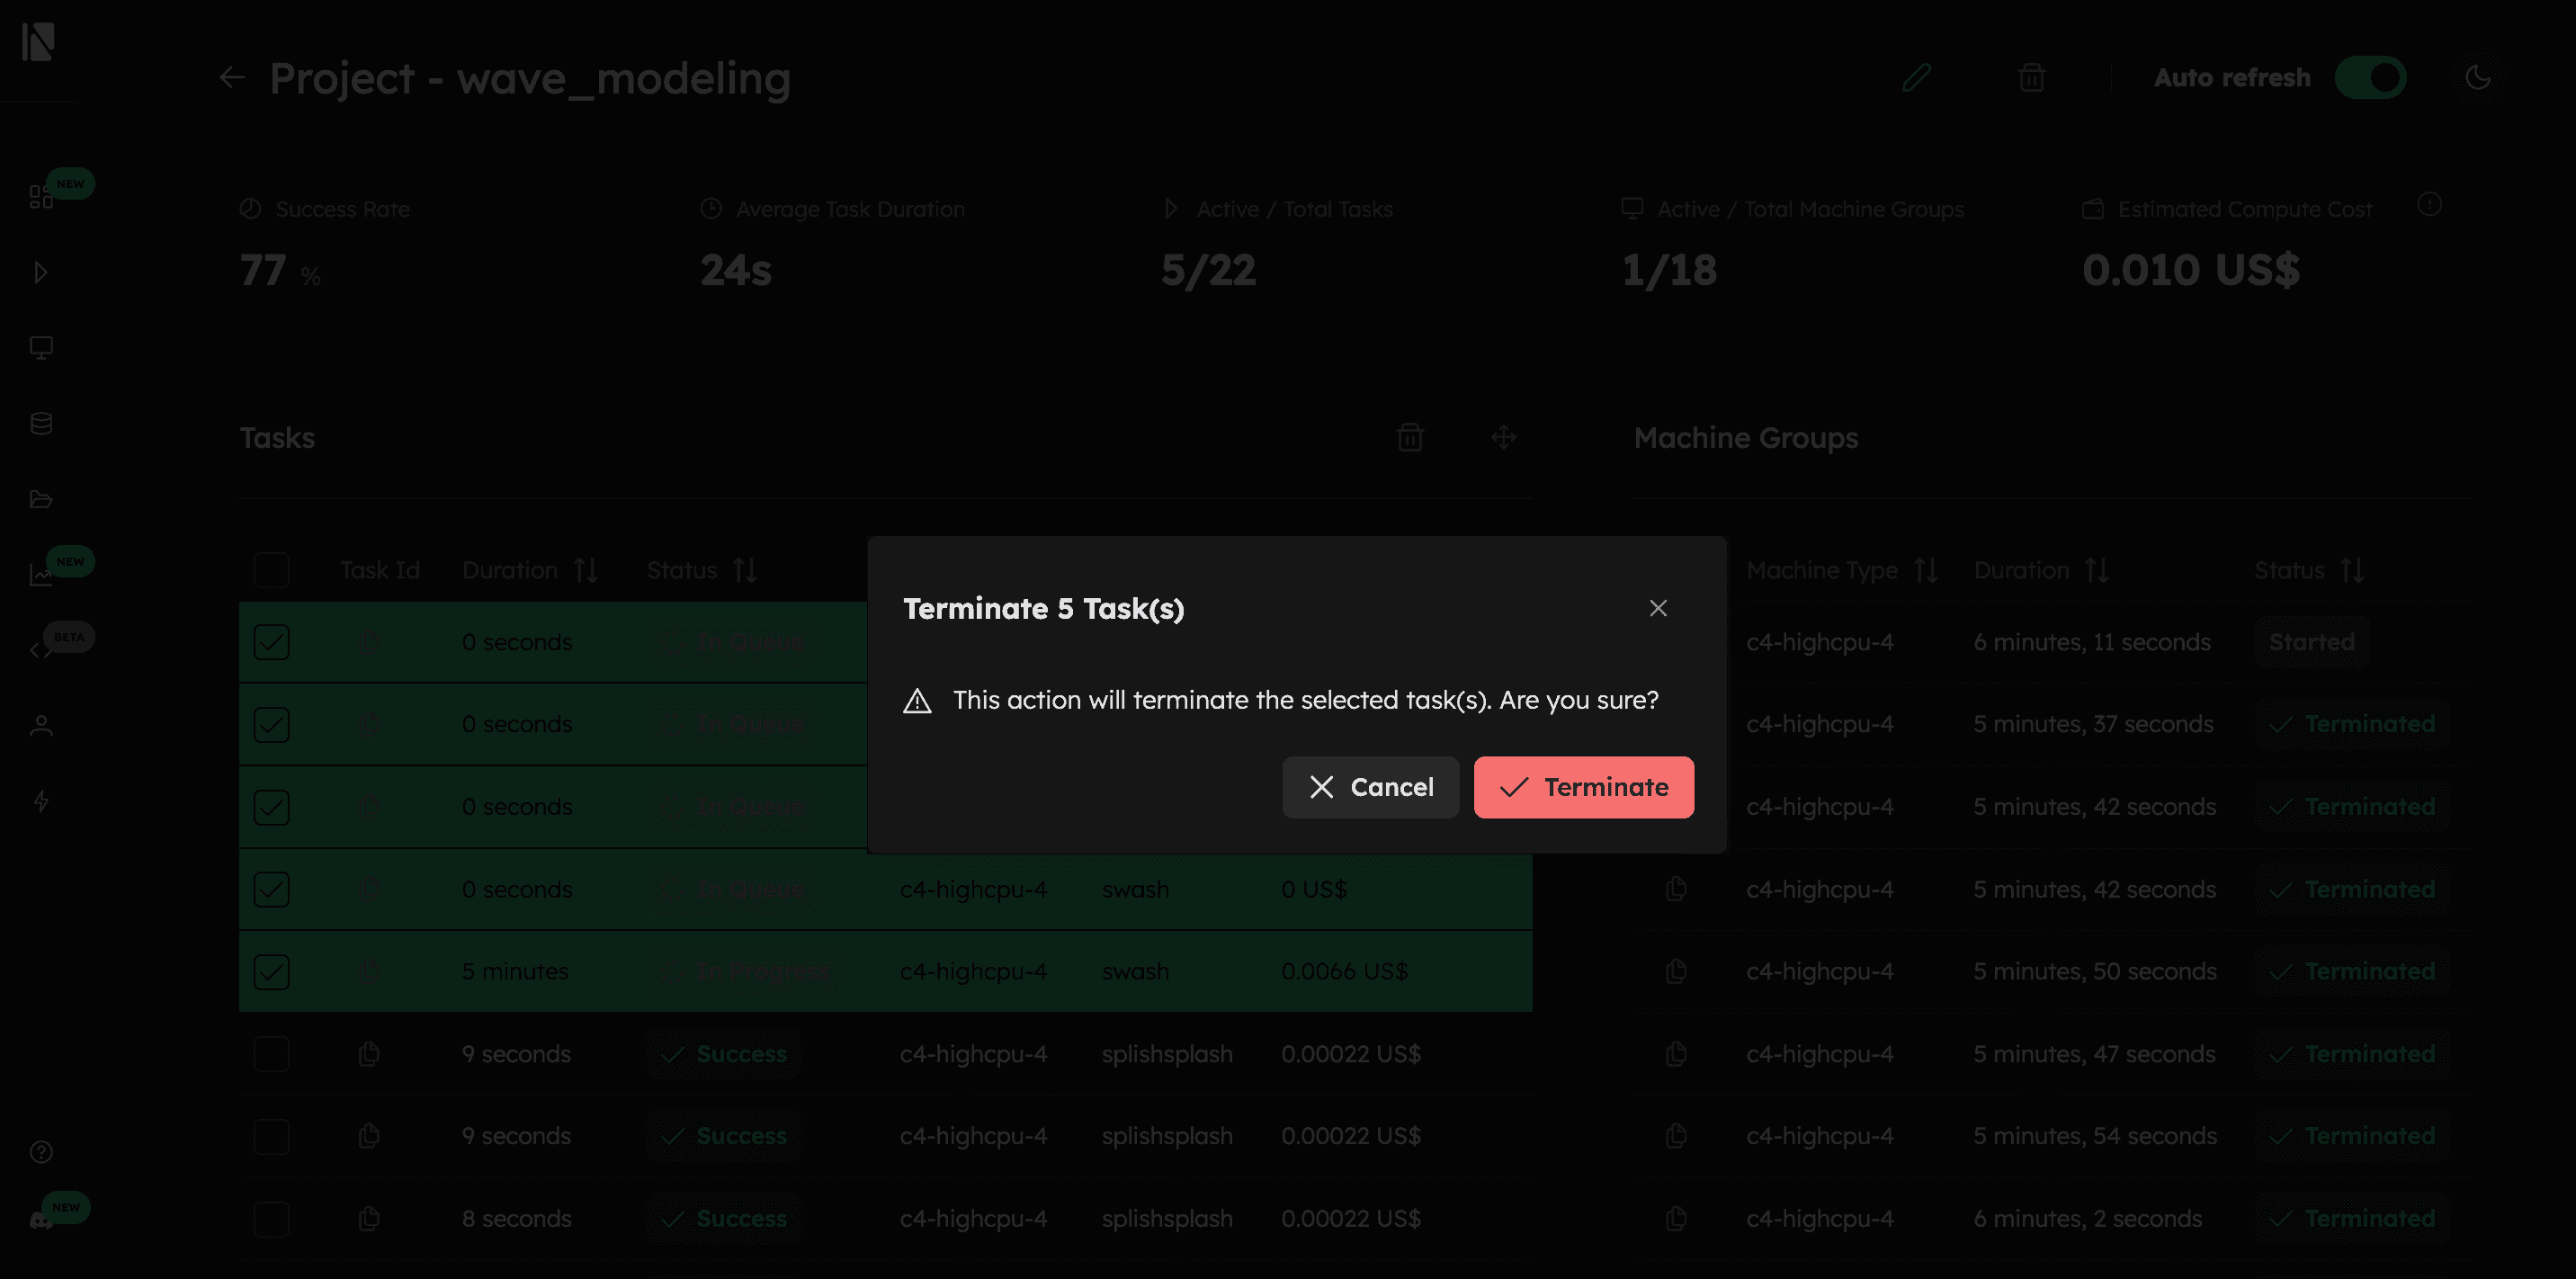
- An action bar will appear. Click the "Terminate" button.
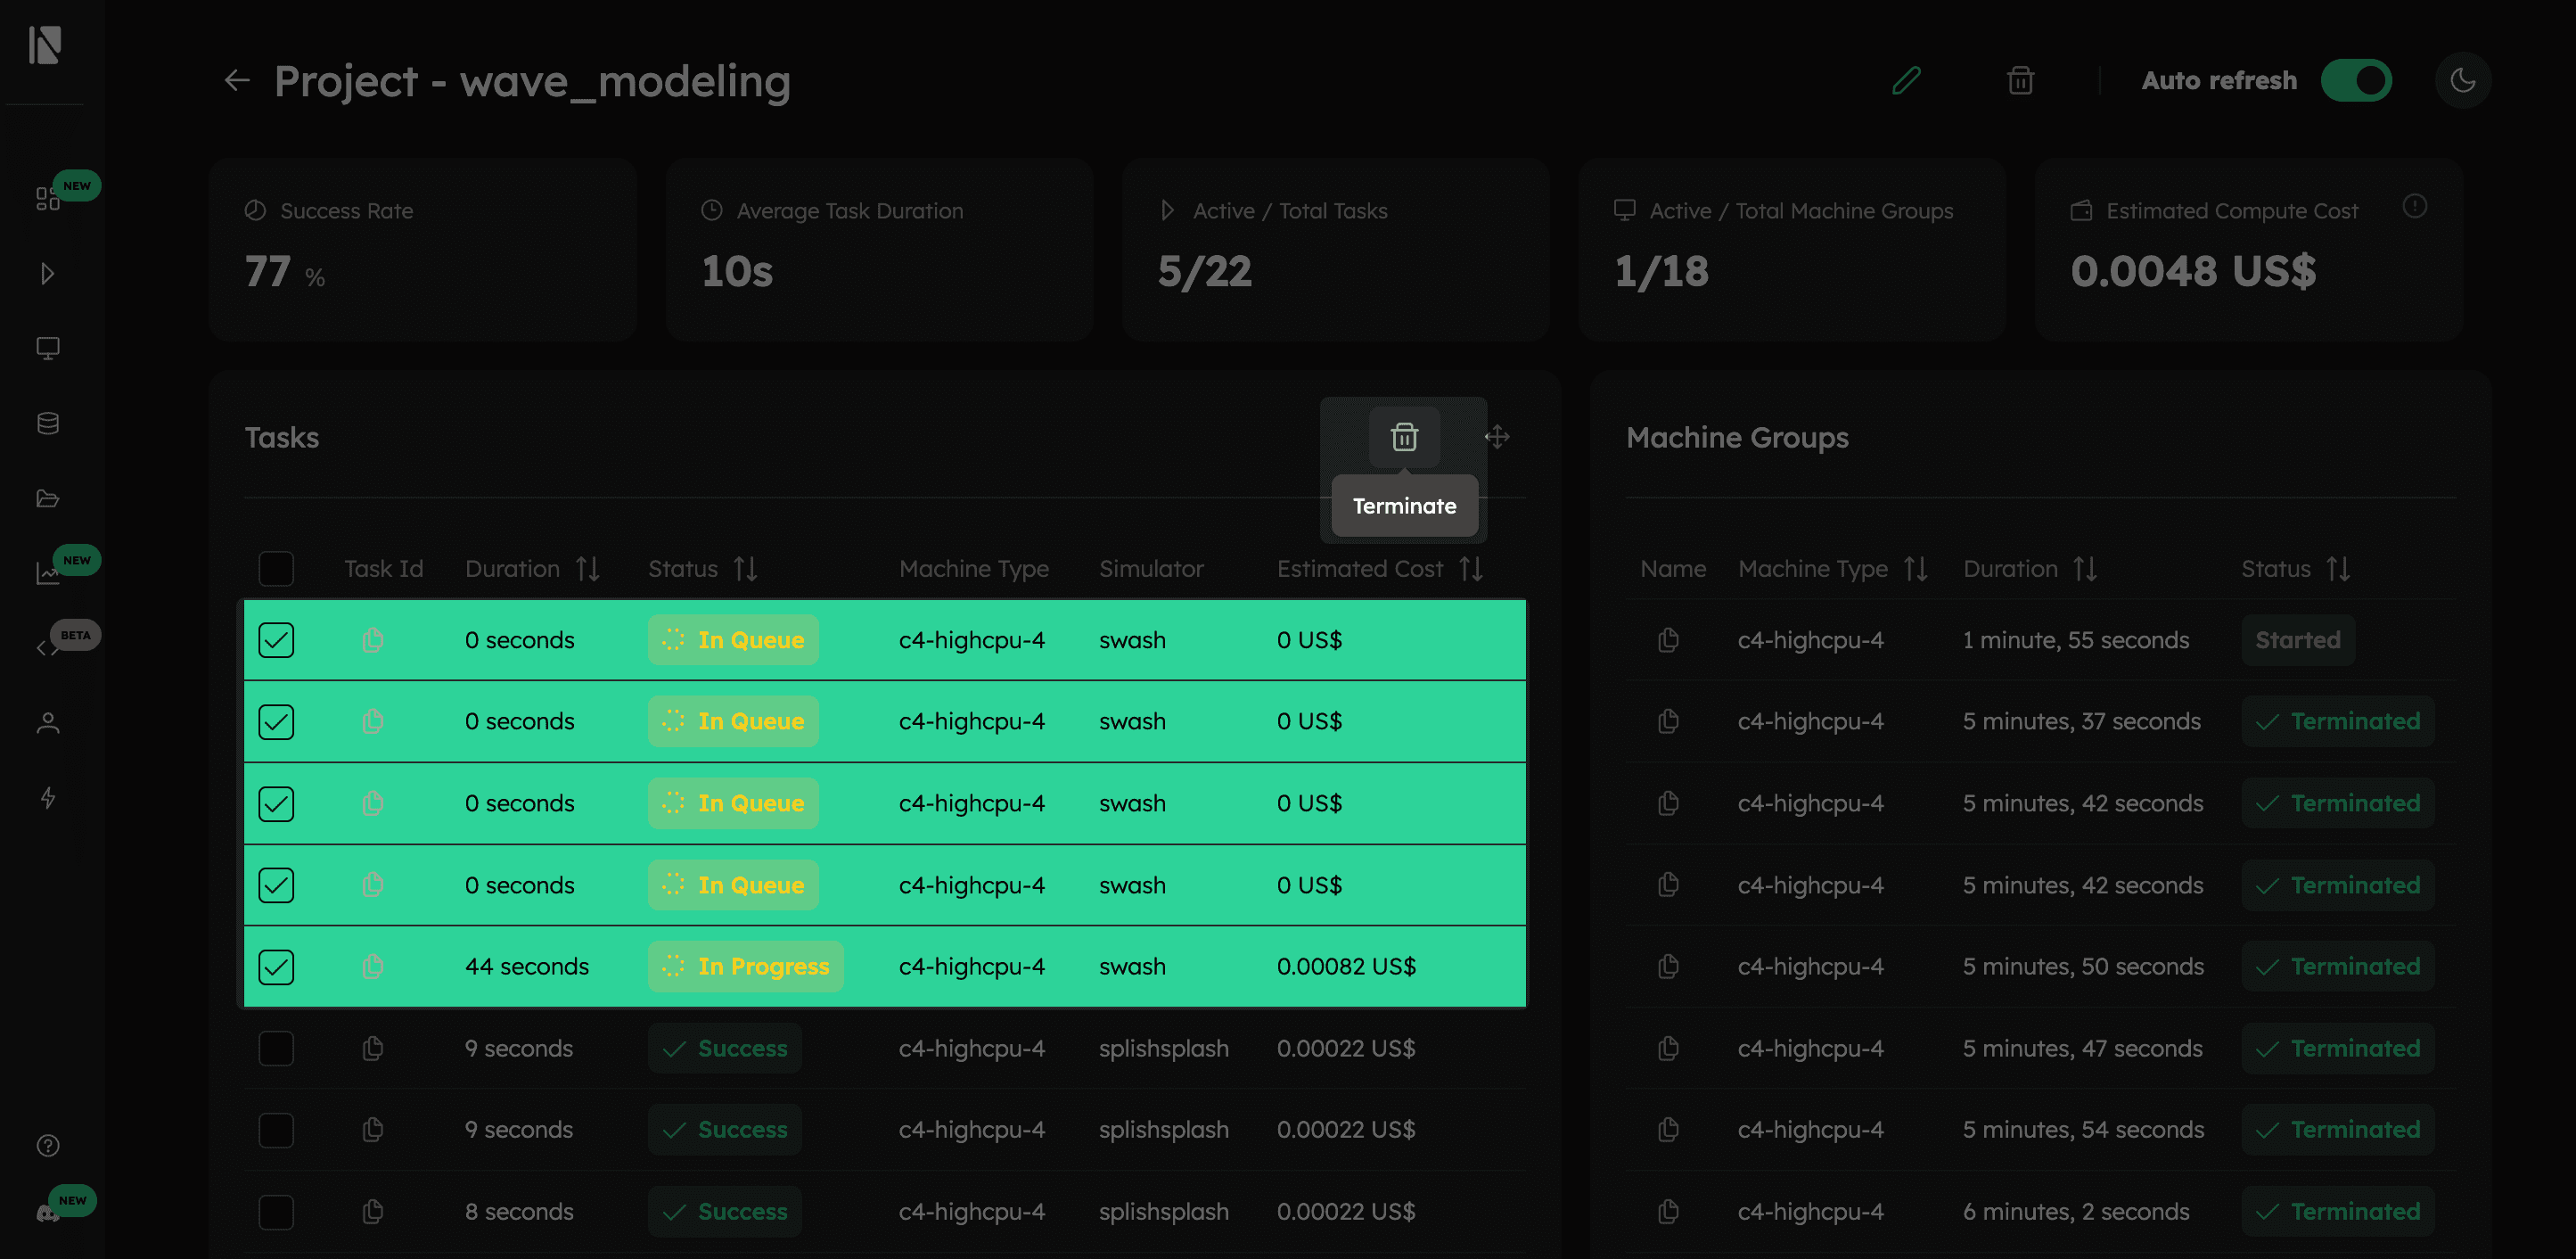
- A confirmation dialog will appear. Click "Terminate" again to stop the task. The task's status will then change to
killed.
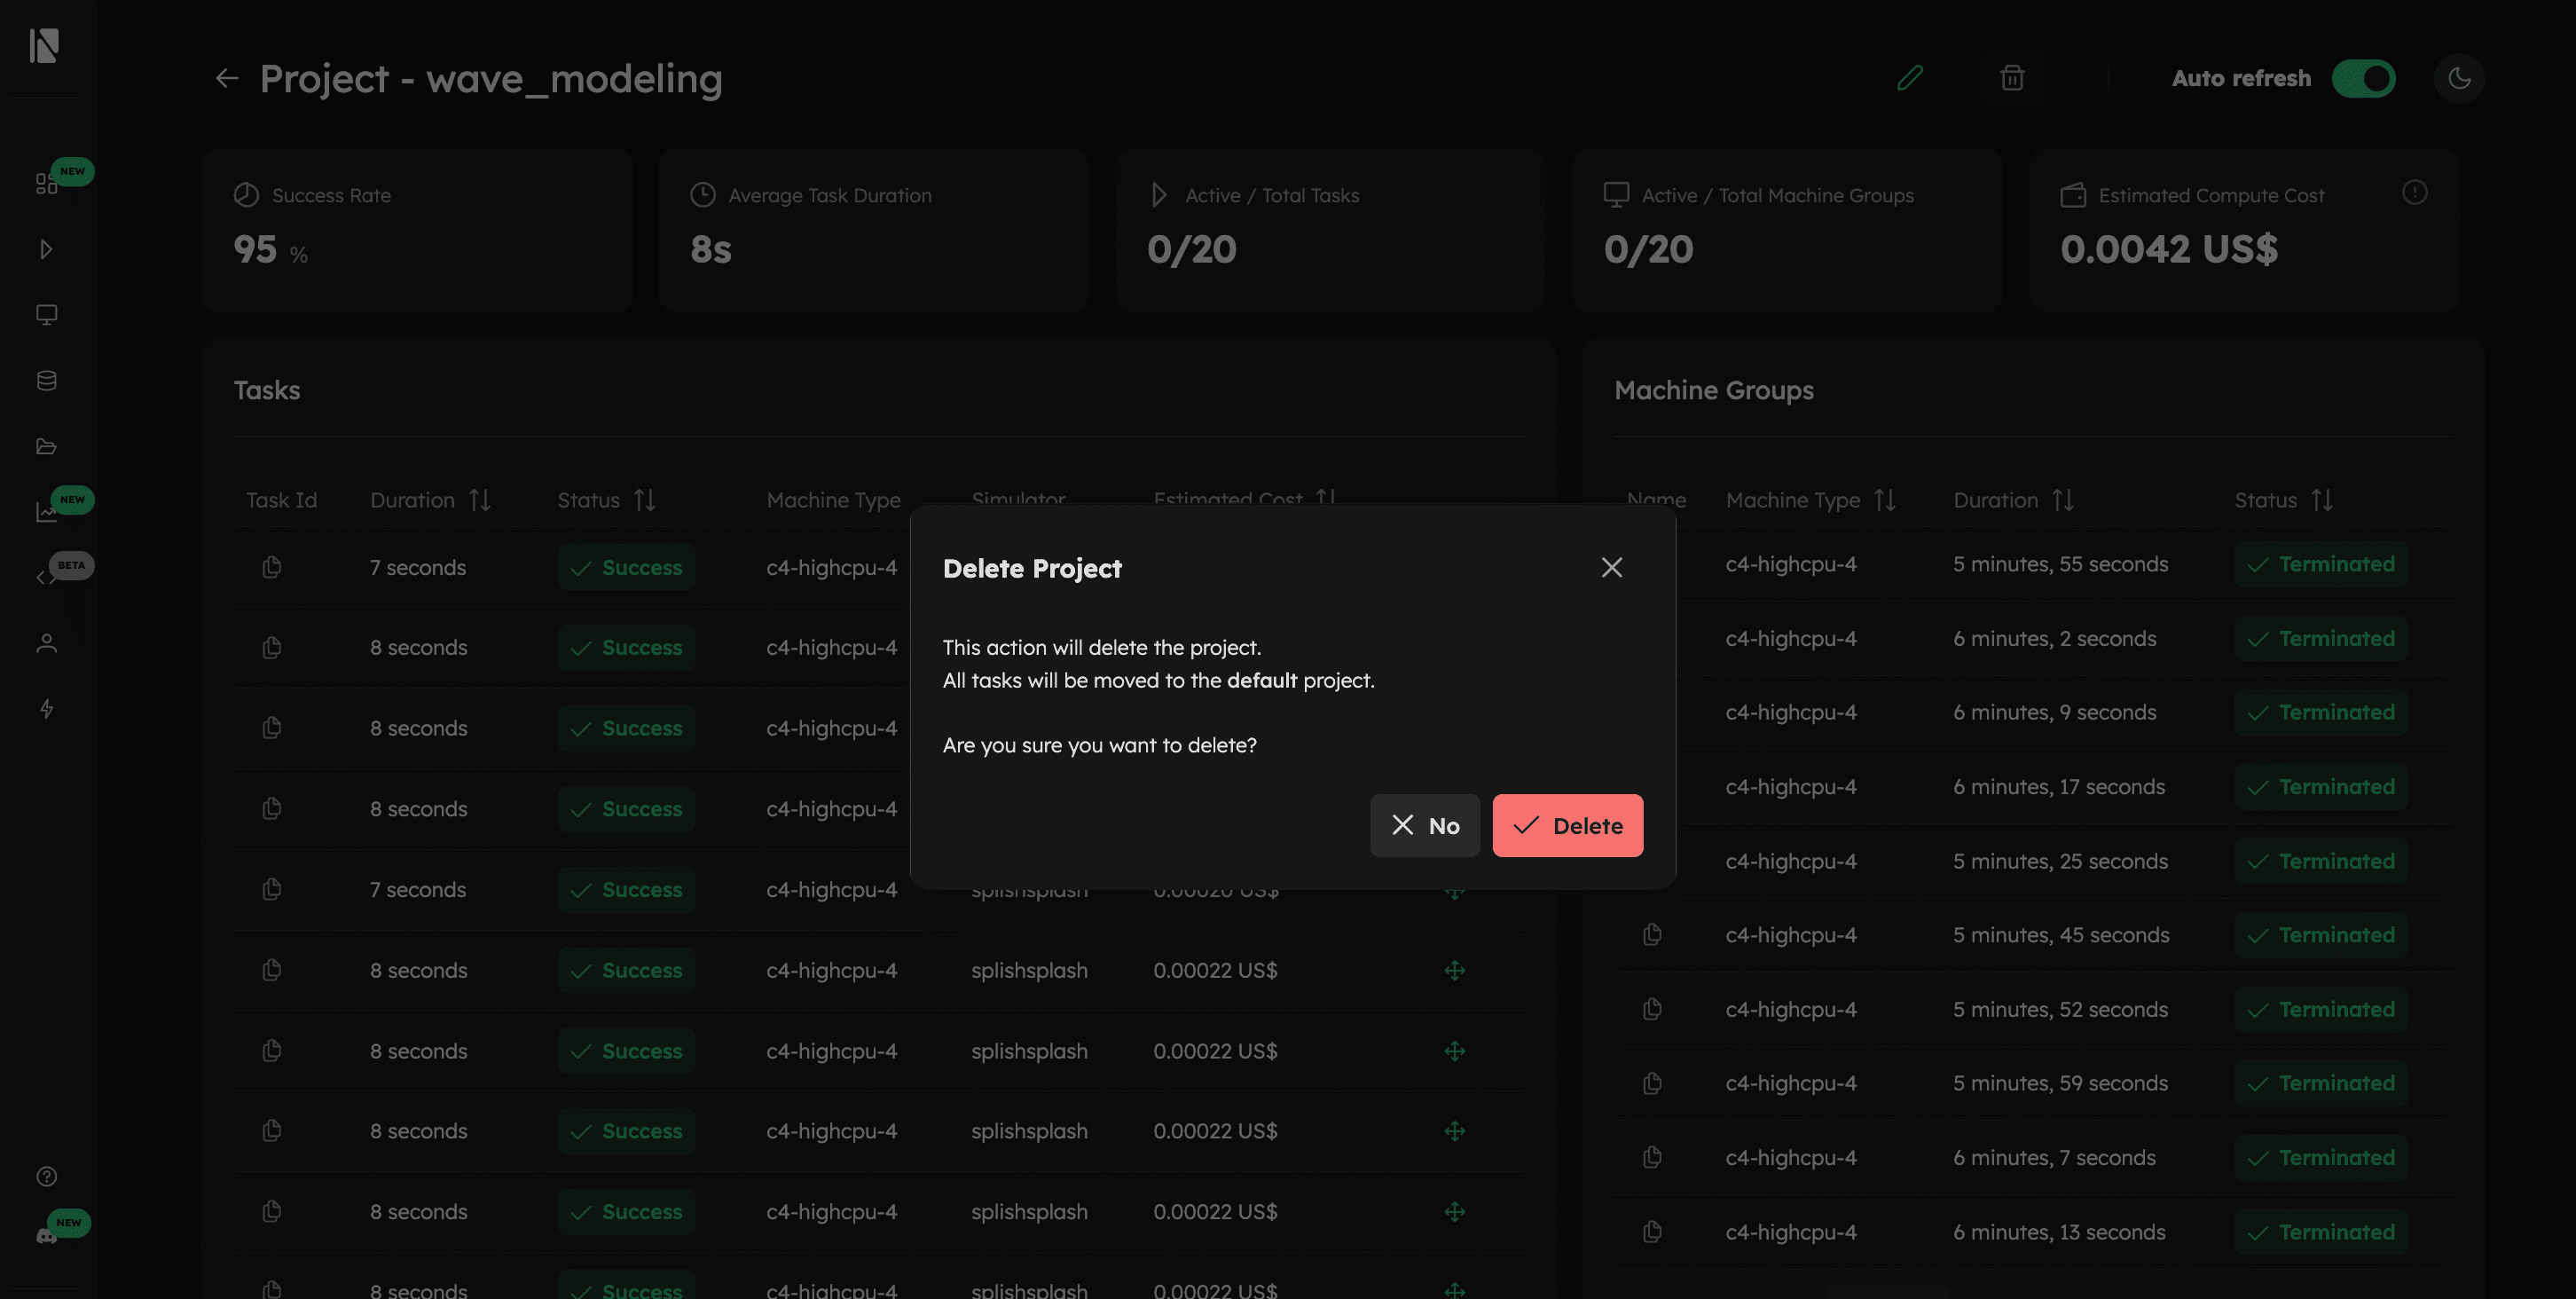
Delete a Project
- Click the "Delete Project" button next to the project title.
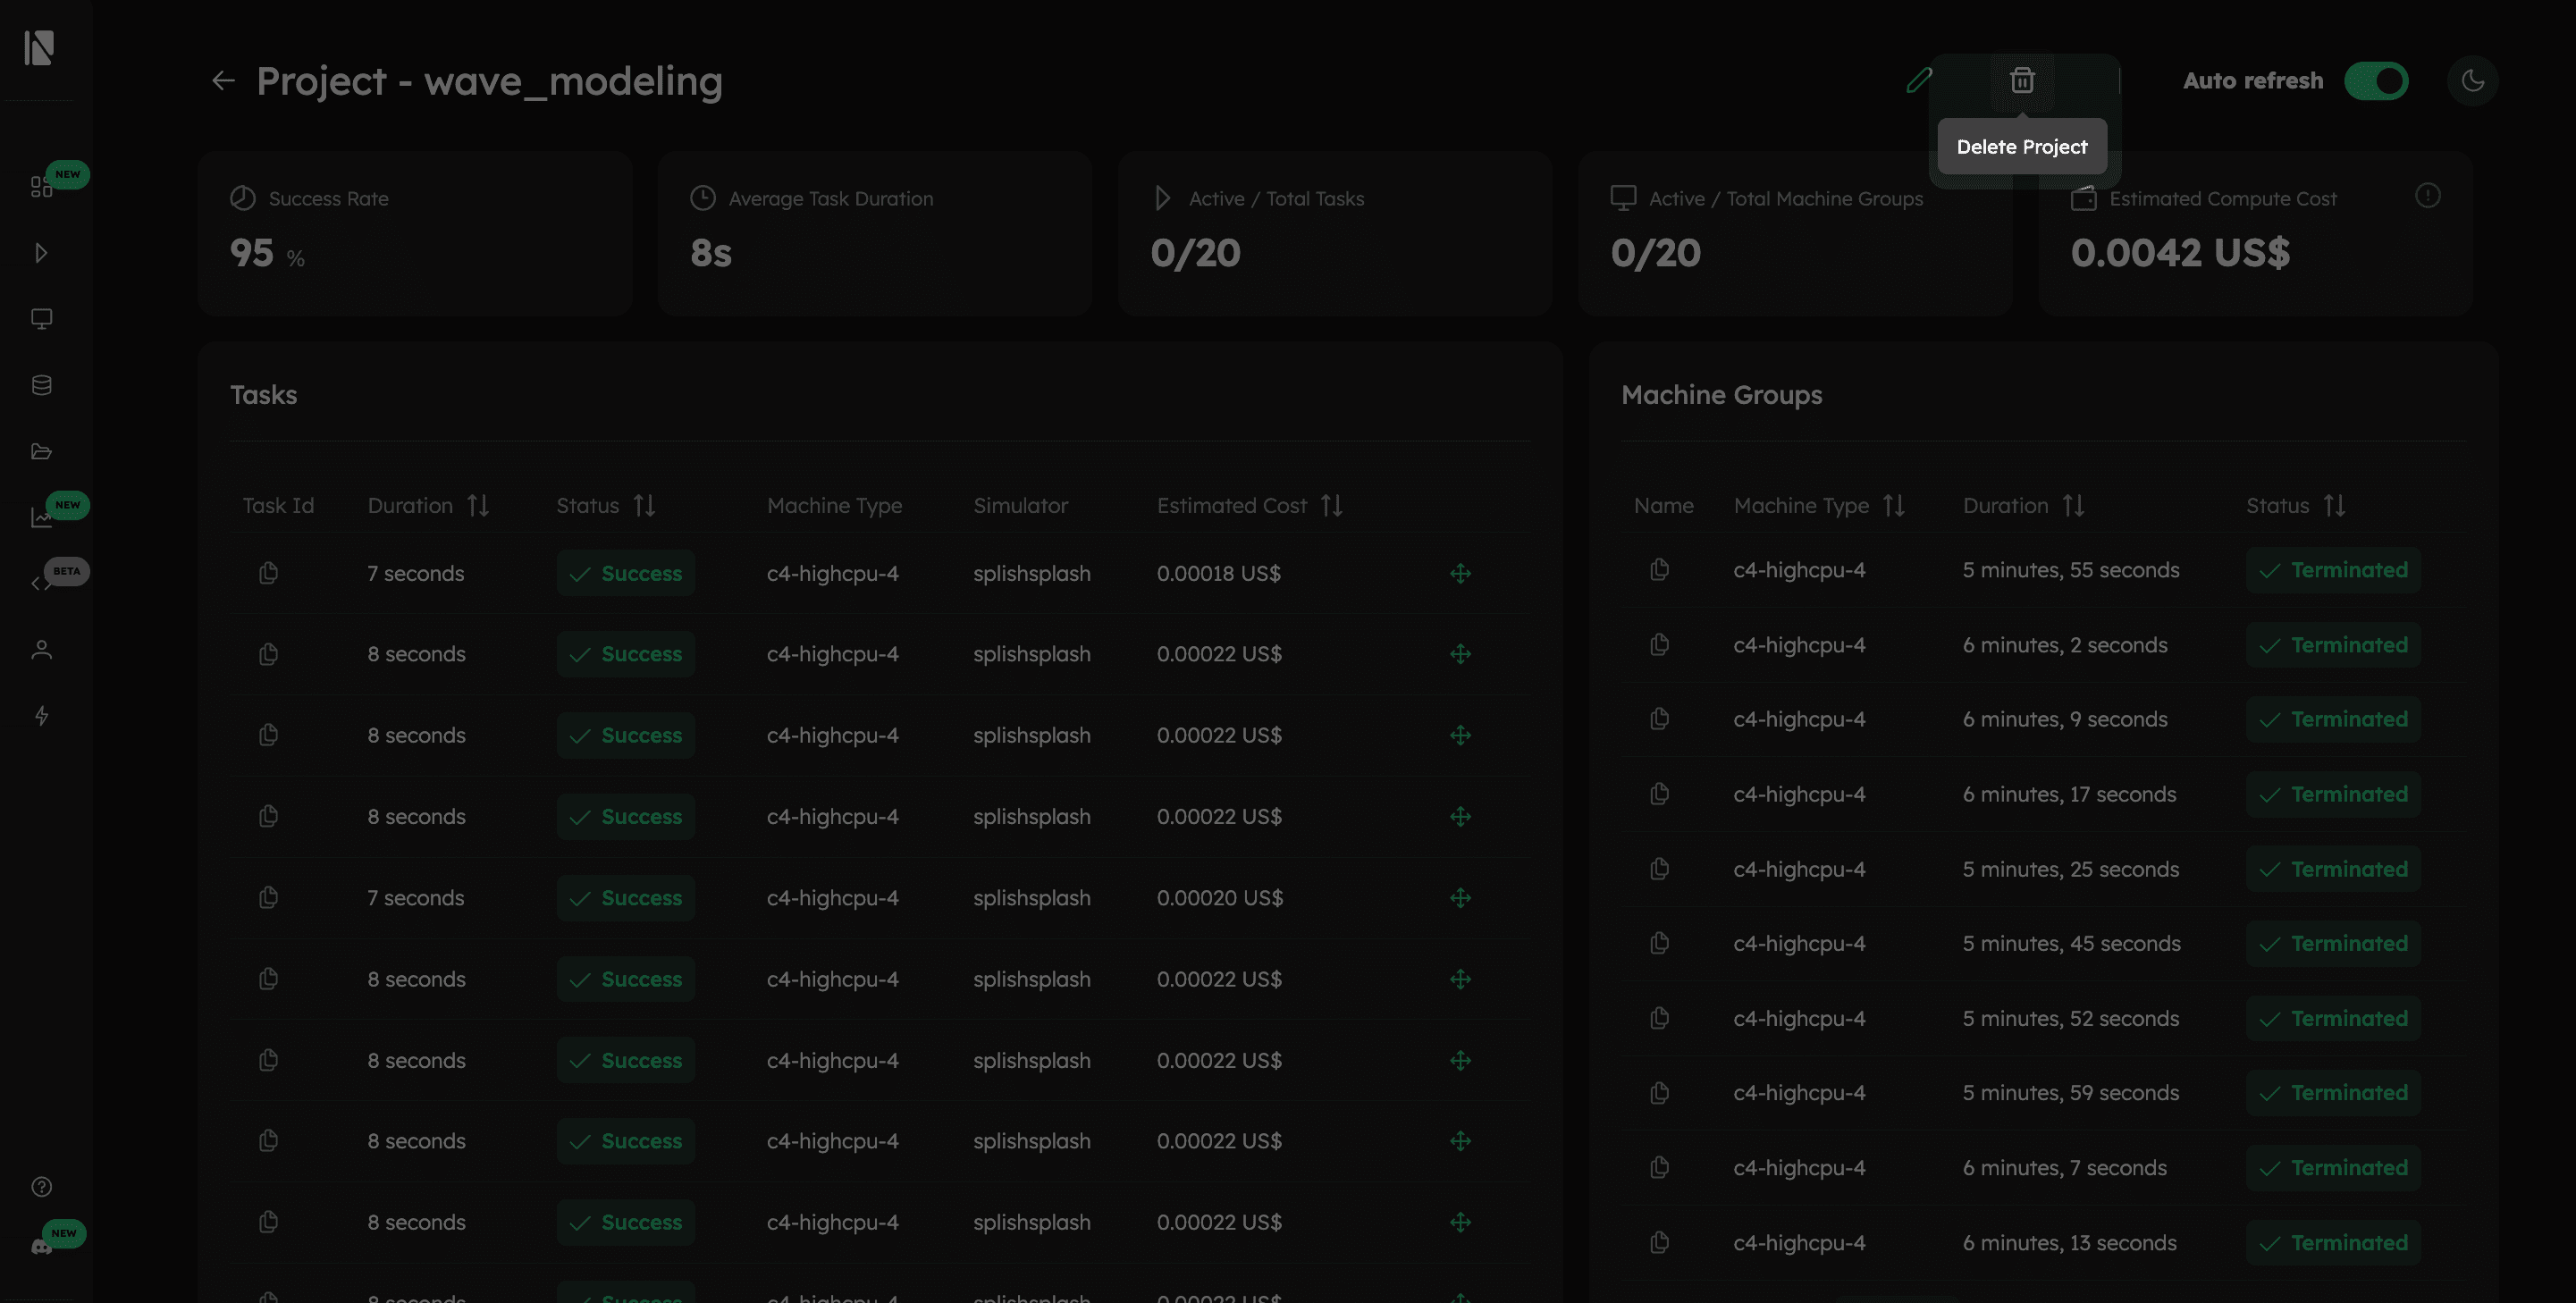
- A confirmation window will appear, warning you that this action will permanently delete the project and move all of its associated tasks to the default project.
- Click the final "Delete" button to confirm.